Introduction
Painting landscapes with watercolors offers a unique opportunity to capture the beauty of nature with a fluid and expressive medium. Watercolor painting is celebrated for its ability to produce vibrant, translucent effects and subtle gradations of color. Whether you’re a beginner or an experienced artist looking to refine your skills, understanding the techniques and approaches to watercolor landscape painting can enhance your creative expression. This article will guide you through the essential steps, techniques, and tips for creating captivating watercolor landscapes.
Understanding Watercolor Basics
Before diving into landscape painting, it’s crucial to grasp the fundamental aspects of watercolor painting.
What Are Watercolors?
Watercolors are a type of paint made from pigments suspended in a water-soluble binder. They are known for their transparency, which allows the paper’s texture to show through and creates a luminous quality in the artwork.
Essential Watercolor Supplies
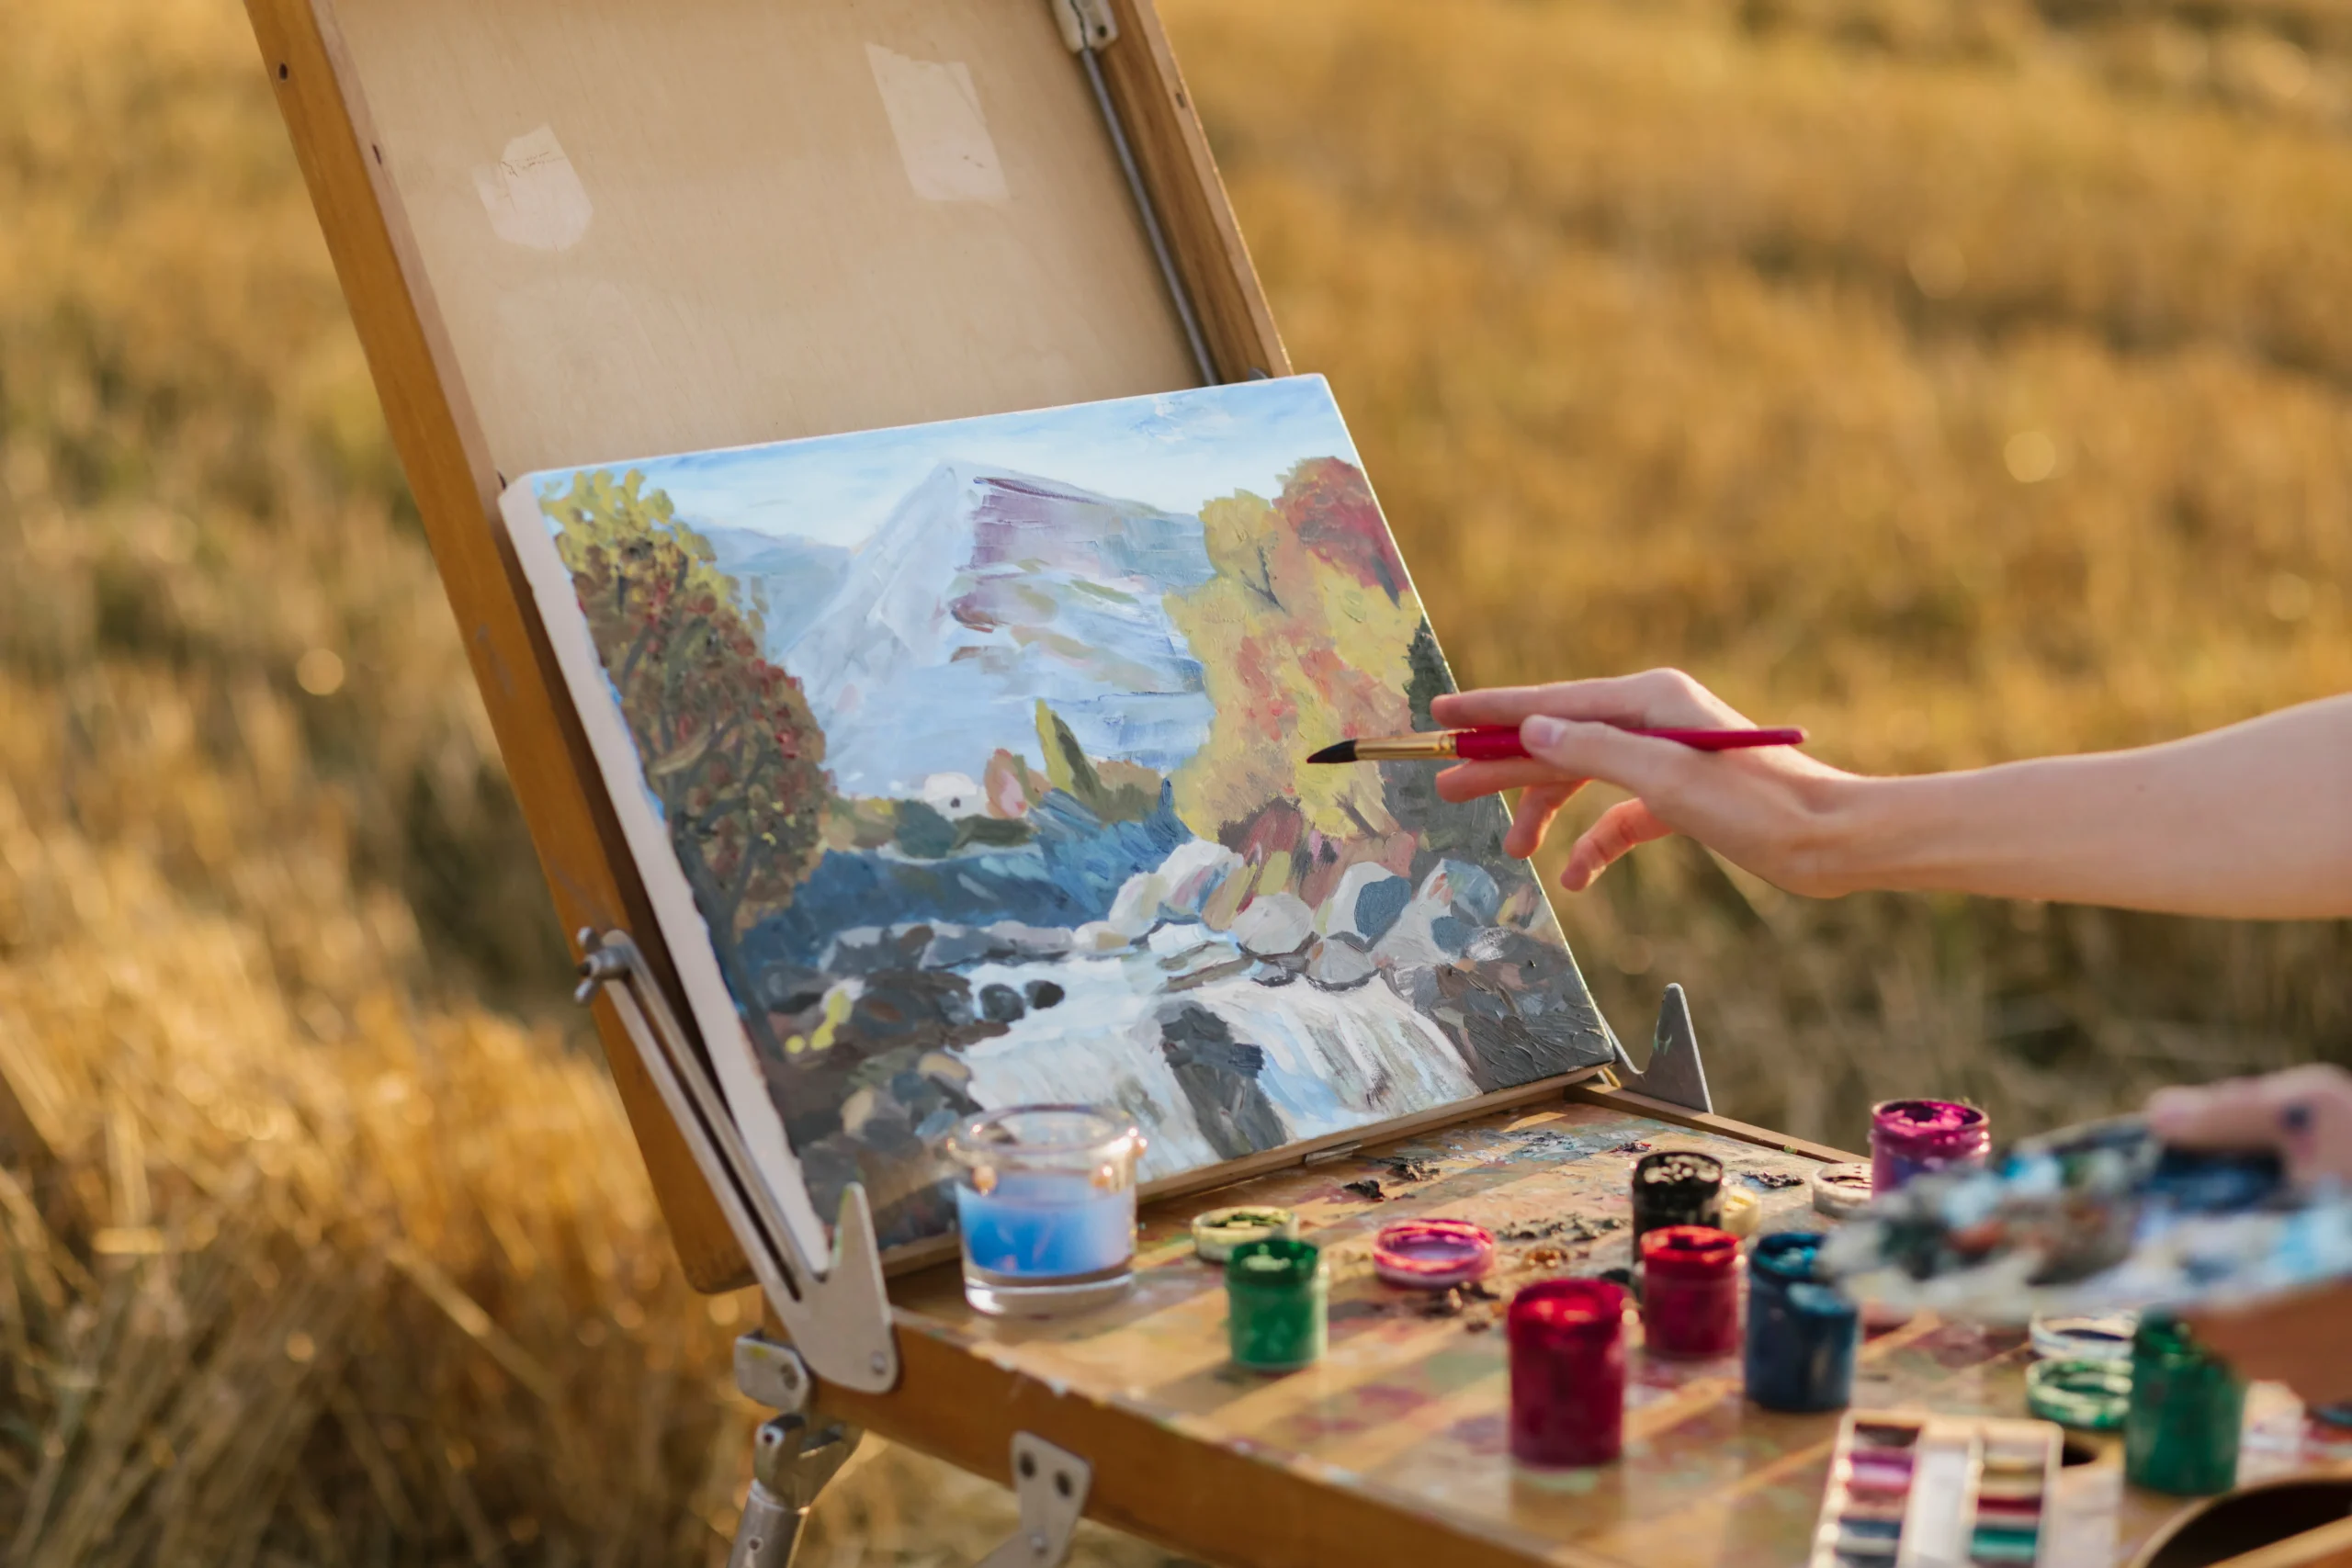
- Watercolor Paints: Available in tubes or pans, these come in a wide range of colors and qualities. Beginners often start with a basic set of primary colors.
- Watercolor Paper: This specialized paper is designed to handle the amount of water used in painting. Look for paper labeled as “cold-pressed” or “hot-pressed” for different textures.
- Brushes: Watercolor brushes come in various shapes and sizes. Round brushes are versatile for detail work, while flat brushes are ideal for washes.
- Palette: A palette is used to mix and dilute colors. It can be a simple plastic tray or a more elaborate setup.
Preparing to Paint
A successful landscape painting starts with proper preparation and planning.
Selecting Your Subject
Choose a landscape that inspires you. It could be a photograph, a view from your window, or an outdoor scene. Start with something manageable to build your confidence.
Sketching Your Composition
Begin with a light pencil sketch to outline the major elements of your landscape. Focus on the composition, including the placement of the horizon line, focal points, and key features such as trees, mountains, or water.
- Rule of Thirds: Use the rule of thirds to create a balanced composition. Divide your paper into three equal parts both horizontally and vertically and place key elements along these lines.
H3: Choosing Your Colors
Select a color palette that reflects the mood and time of day in your landscape. Consider using a limited palette to maintain harmony and avoid overwhelming the viewer with too many colors.
Painting Techniques
Mastering a few key techniques will significantly enhance your watercolor landscape painting.
Wet-on-Wet Technique
The wet-on-wet technique involves applying wet paint onto a wet surface. This method creates soft, blurred edges and smooth transitions.
- Application: Wet your paper with clean water before applying paint. This allows colors to blend naturally and create a gradient effect.
- Usage: Ideal for painting skies, water, and background elements where smooth transitions are desired.
Wet-on-Dry Technique
In the wet-on-dry technique, wet paint is applied to a dry surface. This method produces more defined edges and greater control over color placement.
- Application: Paint directly onto dry paper for sharper lines and more controlled color application.
- Usage: Suitable for detailed elements like trees, buildings, and textures in the landscape.
Dry Brush Technique
The dry brush technique uses a brush with minimal water and paint to create texture and detail.
- Application: Lightly drag a dry brush over the paper’s surface to create texture. This technique is excellent for adding details like grass, branches, and rough textures.
- Usage: Ideal for painting textures in foreground elements and adding fine details.
Adding Details and Finishing Touches
The final touches can make a significant difference in the overall impact of your watercolor landscape.
Adding Texture
- Texture with Salt: Sprinkle salt onto wet paint to create a unique texture effect. The salt absorbs some of the paint and creates a speckled appearance.
- Sponging: Use a sponge to dab on additional textures or soften edges.
Enhancing Contrast and Depth
- Layering: Apply multiple layers of paint to build depth and intensity. Allow each layer to dry before adding the next.
- Details: Add finer details and highlights using a small brush or fine-tipped pen. This could include reflections in water, distant trees, or architectural elements.
Final Review and Adjustments
- Review: Step back and evaluate your painting. Look for areas that may need adjustment or additional detail.
- Adjustments: Make any necessary adjustments, such as adding more contrast, refining details, or correcting any mistakes.
Conclusion
Painting landscapes with watercolors is a rewarding and expressive art form that allows you to capture the natural beauty of the world. By understanding the basics of watercolor, preparing your subject, applying various techniques, and adding thoughtful details, you can create stunning landscape paintings that convey the essence of your chosen scene. Embrace the fluid nature of watercolor and enjoy the process of discovery and creativity. With practice and patience, you’ll develop your unique style and produce artwork that resonates with your vision and passion.
Keywords: watercolor painting, landscape painting, watercolor techniques, painting with watercolors, watercolor supplies, wet-on-wet technique, wet-on-dry technique, dry brush technique, painting details, watercolor textures.