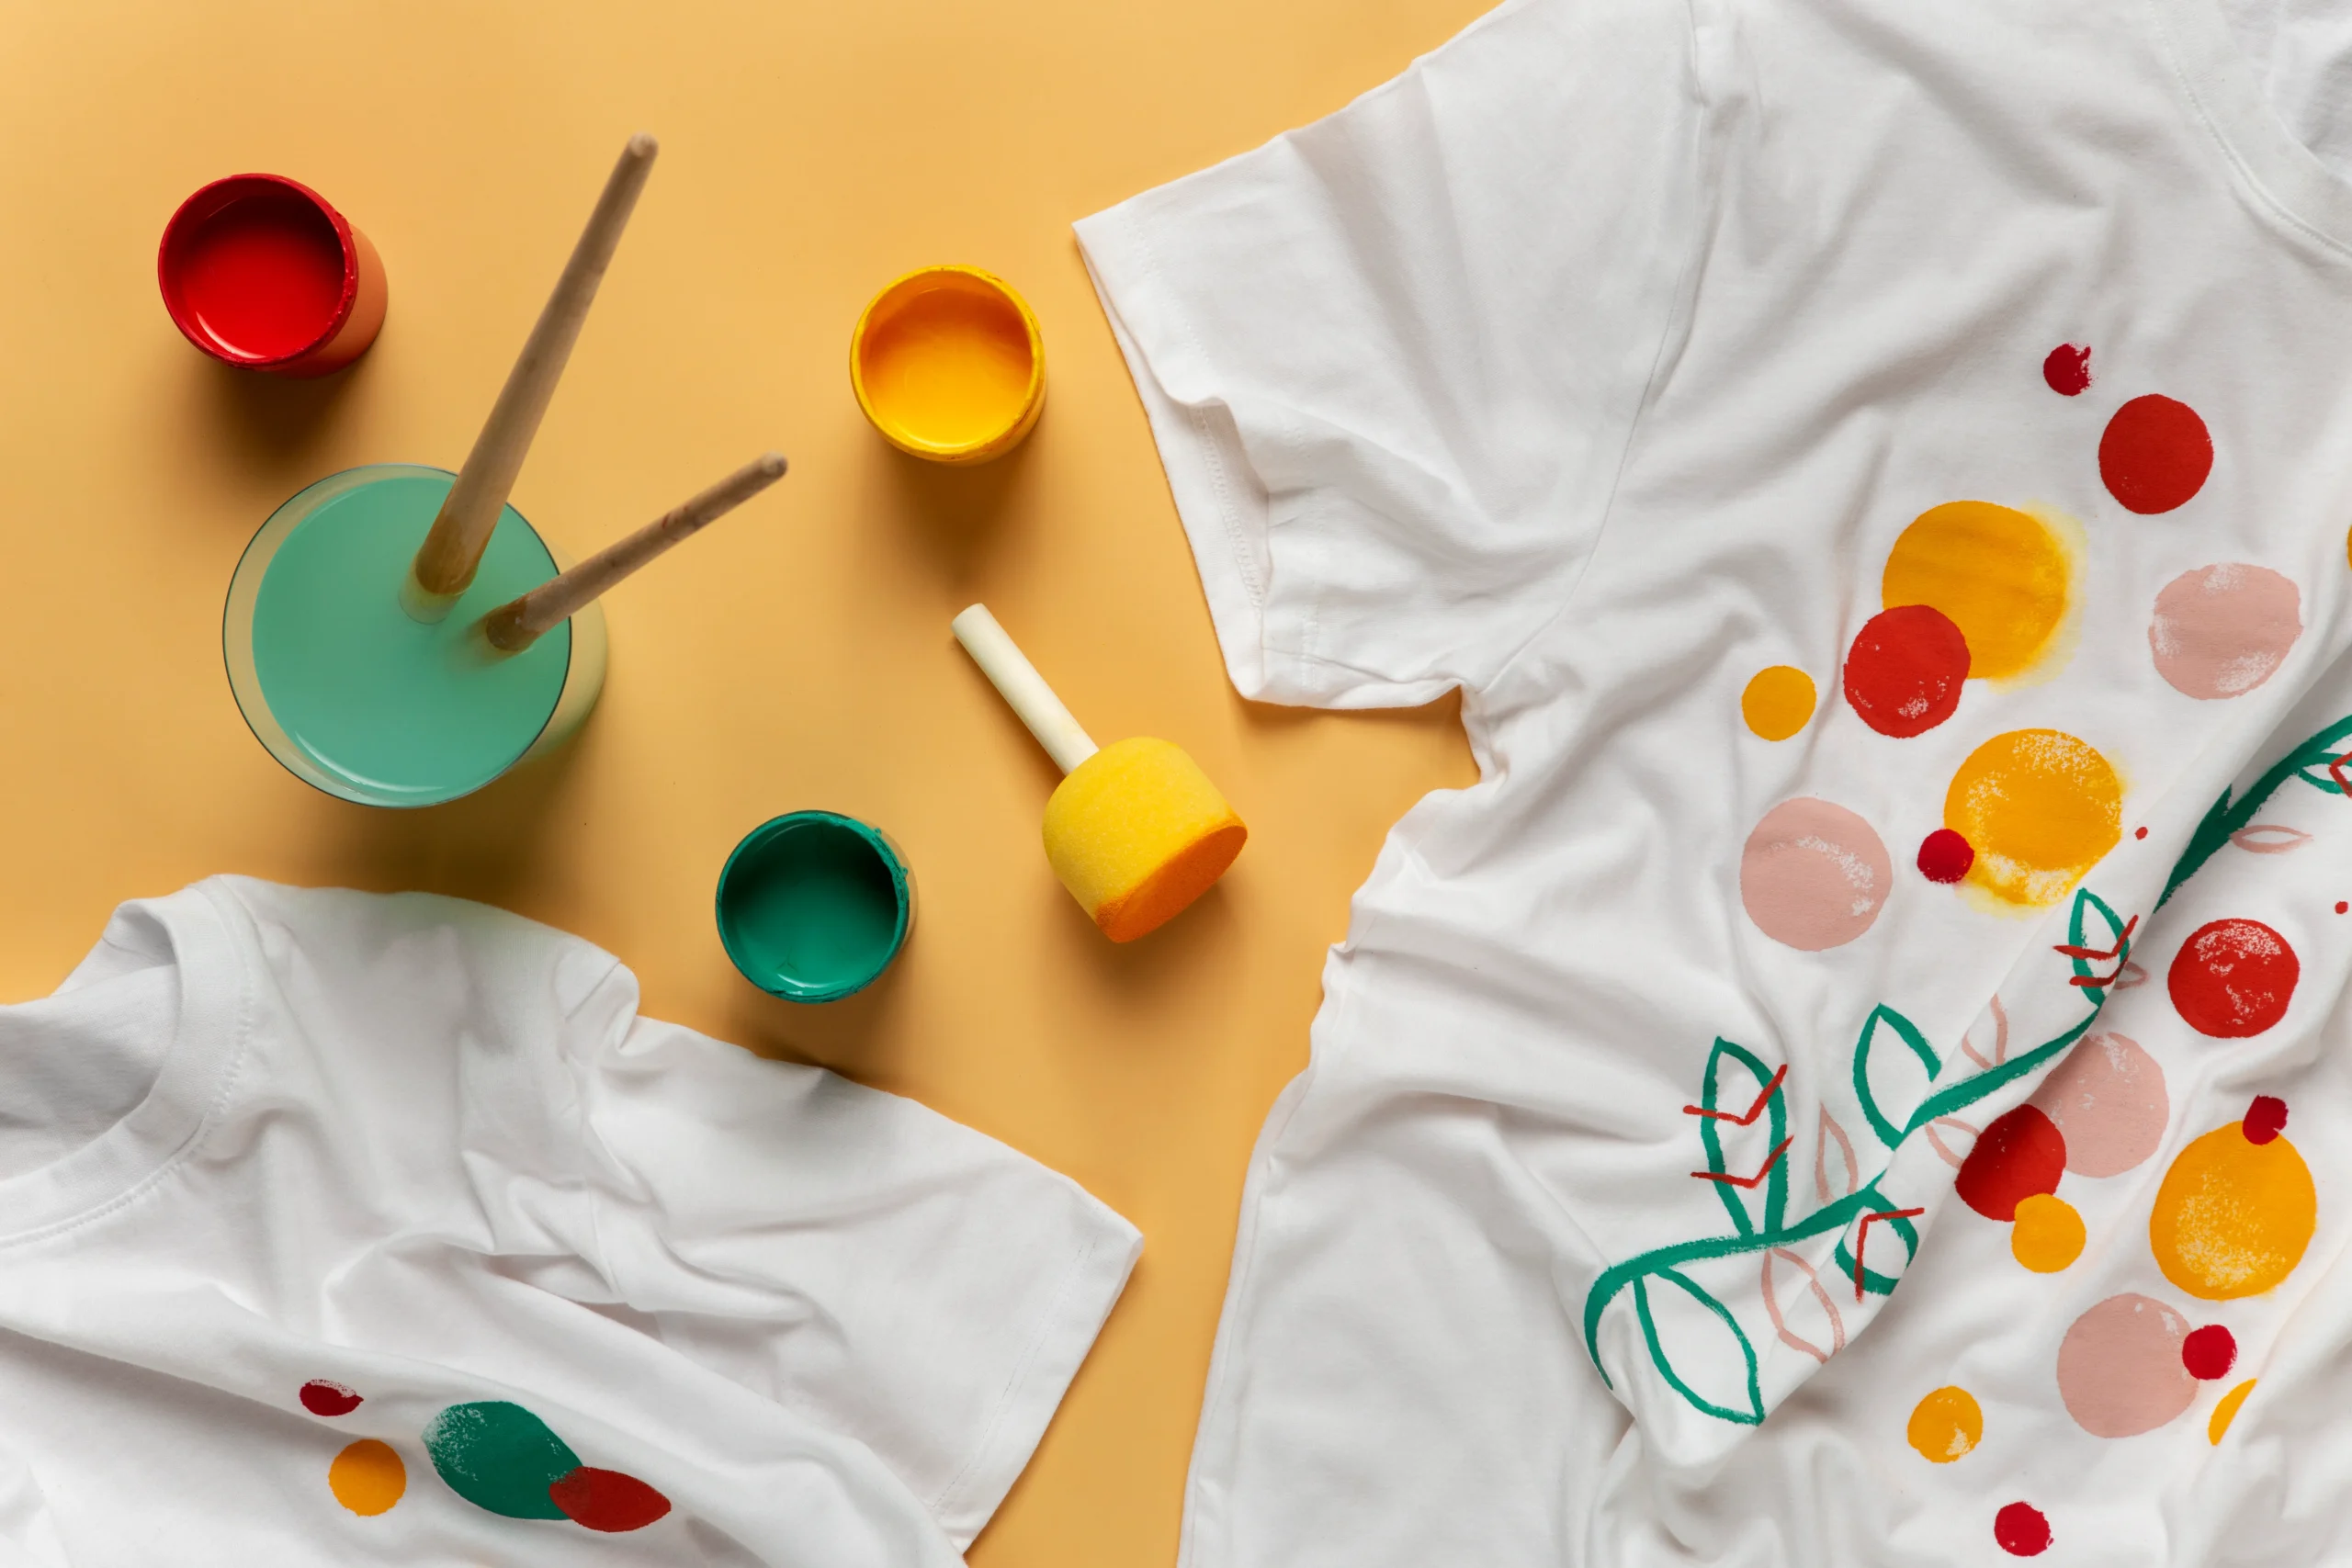
Introduction
Creating a custom t-shirt design allows you to express your unique style or message in a wearable format. Whether you’re designing for personal use, a special event, or starting a small business, understanding the process of making a custom t-shirt design is essential. This guide will take you through the steps involved in creating a custom t-shirt design, from brainstorming ideas to finalizing your design and preparing it for printing.
Understanding the Basics of T-Shirt Design
Before diving into the design process, it’s important to understand the fundamental elements of t-shirt design:
Key Components of T-Shirt Design
- Graphics: This includes images, illustrations, or logos that will be featured on your t-shirt.
- Text: Any words or phrases that you want to include in your design.
- Colors: The choice of colors can greatly impact the overall look and feel of your design.
- Placement: Deciding where your design will be placed on the t-shirt (e.g., front, back, sleeves).
Choosing the Right Fabric
The fabric of the t-shirt can affect the appearance and durability of your design:
- Cotton: Popular for its comfort and breathability.
- Polyester: Known for its durability and resistance to wrinkles.
- Blends: A mix of cotton and polyester offers a balance of comfort and durability.
Steps to Create a Custom T-Shirt Design
Creating a custom t-shirt design involves several key steps:
1. Brainstorming and Conceptualizing
- Identify Your Purpose: Determine the purpose of your design, such as a special event, promotional item, or personal expression.
- Research Trends: Look at current design trends for inspiration, but aim for a design that stands out and represents your unique vision.
- Sketch Ideas: Start by sketching out your ideas on paper or using a digital sketching tool. Focus on the overall concept and layout.
2. Designing Your T-Shirt
- Choose Design Software: Use design software such as Adobe Illustrator, Photoshop, or free tools like Canva to create your design. These tools offer various features to help you craft a professional-looking design.
- Create Your Artwork: Develop your design using the chosen software. Pay attention to details like resolution (300 DPI is recommended for high-quality prints), color modes (CMYK for printing), and scalability.
- Incorporate Text and Graphics: Add any text or graphics to your design. Ensure that they are clear and legible, especially if the design will be viewed from a distance.
3. Preparing Your Design for Printing
- Choose the Printing Method: There are several printing methods to consider:
- Screen Printing: Ideal for bulk orders and provides vibrant, long-lasting colors.
- Heat Transfer: Allows for more detailed and colorful designs, suitable for smaller batches.
- Direct-to-Garment (DTG): Best for complex designs and allows for high-resolution printing on various fabrics.
- Create a Mockup: Generate a mockup of your t-shirt design to visualize how it will look on an actual t-shirt. Many design tools offer mockup features or templates.
- Save in the Right Format: Save your design file in a format that is compatible with your chosen printing method. Common formats include PNG, PDF, or TIFF.
Selecting a Printing Service
Choosing the right printing service is crucial for achieving the best results:
1. Research and Compare Printing Companies
- Check Reviews and Ratings: Look for reviews and ratings of different printing companies to gauge their reputation and quality of work.
- Compare Pricing: Obtain quotes from multiple printing companies and compare their pricing, including setup fees and additional costs.
2. Request Samples
- Order Samples: Before committing to a large order, request samples from the printing company to assess the quality of their work and the accuracy of color reproduction.
- Evaluate Quality: Check the quality of the print, the fabric, and the overall finish of the sample t-shirts.
Finalizing Your T-Shirt Design
Once you’ve completed the design and selected a printing service, it’s time to finalize your project:
1. Place Your Order
- Specify Details: Provide detailed instructions to the printing company, including the design file, shirt size and color options, and quantity.
- Confirm Proofs: Review and approve any proofs or mockups provided by the printing company to ensure everything is correct before proceeding with the full order.
2. Monitor Production
- Track Progress: Keep in touch with the printing company to monitor the progress of your order and address any issues that may arise.
- Inspect Final Products: Upon receiving the t-shirts, inspect them to ensure they meet your expectations in terms of design and quality.
Conclusion
Creating a custom t-shirt design is a rewarding process that allows you to showcase your creativity and bring your ideas to life. By following the steps outlined in this guide, from brainstorming and designing to preparing for printing and selecting a service, you can create a t-shirt that not only looks great but also effectively communicates your message or brand. Whether for personal use, a special event, or a business venture, a well-crafted custom t-shirt design can make a lasting impression. Embrace the process, stay attentive to details, and enjoy the satisfaction of wearing or sharing your unique design.


